Many wonder how a die-cut decal is made. Here is where we'll show you the
process involved in making a decal.
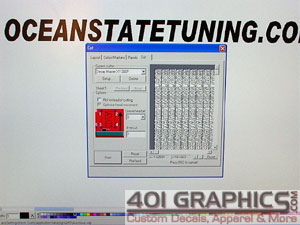
First, the design is created out on the computer using
software which controls the vinyl cutter.
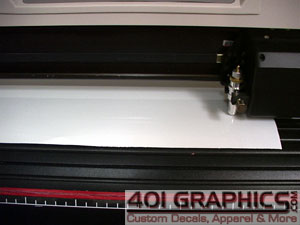
Next, the software sends the design to the cutter.
The cutter uses a very small blade the looks like a miniature
exacto knife to cut the vinyl as it is
fed back and forth through the cutter from a large roll.
After the cutter has completed, the vinyl is then cut from
the roll on the machine. It is then taken to a table where the
weeding and transferring processes will be done.
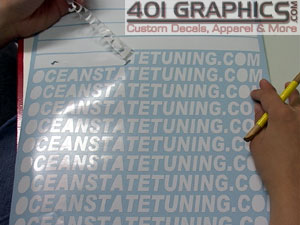
The picture above shows the most time consuming part of creating a
decal. The scrap vinyl is removed by hand
leaving only the wanted vinyl pieces behind.
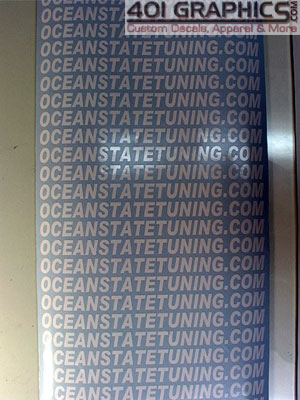
Here are the decals after completing the weeding process.
Next they will have transfer tape applied and then cut out
individually.